I recently had the opportunity to purchase a cheap but good quality airbrush from a local craft store, something which I had always thought a bad idea (but had balked at the idea of spending big bucks on a "proper" airbrush setup), but for $50 including compressor I had only the most modest goal of replacing the smelly and messy spray cans which are the bane of apartment living. Though I am only just starting to learn the basics of airbrushing, having made many a mess and swore a lot at inconsistent results, I am finally at a stage where my purchase has already begun to save time, money and effort. Already I can begin to dream of larger and more involved projects which would have not previously been possible.

I picked up a "single action" siphon feed airbrush made by Badger called the "200NH" which is apparently a "new head" design. The single action means I cannot control the amount of paint through the gun while spraying, as the needle depth is set before you start spraying using the adjusting screw at the back of the blue handle. The siphon feed means a higher pressure is required, reducing the flexibility for fine detail work and increasing the amount of paint used, hence the large glass bottle attachment. The compressor was also on special and is well matched to the brush in pressure specifications and has an auto shut off when you aren't spraying. With the compressor only running when you press the trigger on the airbrush, I have actually managed to carry out a conversation across the dinner table while airbrushing some small details. While I am currently using a basic face mask, a larger replaceable filter mask is definitely on the cards if I start using it more frequently.
 |
| The "new head" design makes cleaning difficult. |
Regarding the new head design, I can only assume the wavy "cutout"areas around the head allow for better visual access to the needle so you can tell when it is clogging or if you want to adjust the depth quickly without test spraying. I found it very difficult to back-flush the gun when cleaning it though, as all the air just bleeds around the rag at these cutouts rather than going back inside the chamber, though after changing thinning medium (see below) I found less need to clean the airbrush as the paint would no longer dry on the tip or inside the gun during use. Either way, cleaning the tip was easy both when extended (quick clean) or removed completely (complete clean).
 |
| A clogged tip (left) and clean tip (right) |
After a few test sprays using Vallejo paints thinned with water (and a few extremely thick and shiny paint jobs!), I moved on to some Games Workshop paints which required more than just water. After many different websites and blogs recommended Isopropyl Alcohol I spent a number of frustrating weeks cleaning and re-cleaning dried paint from the tip, and mixing different ratios to combat what I thought was just an inherent problem with using airbrushes. Finally I switched to using some Windex and water in a roughly 3:2:1 Paint:Windex:Water ratio, and I am almost draining the paint cup before having to pause and clean the airbrush. Speaking of the paint cup, so far I have found it much easier to mix the paint in the metal cup provided, rather than the glass jar, as the brush is lighter and easier to operate, less paint is wasted or has to be poured back into the pot, and I can easily re-mix ratios on the fly while painting a small set of models.
 |
| I have taken to using the glass jar as an easy method of cleaning, as being an internal mix airbrush the amount of paint which continues to spray after removing the paint cup is still surprising! It also reduces the mess when "back-flushing" |
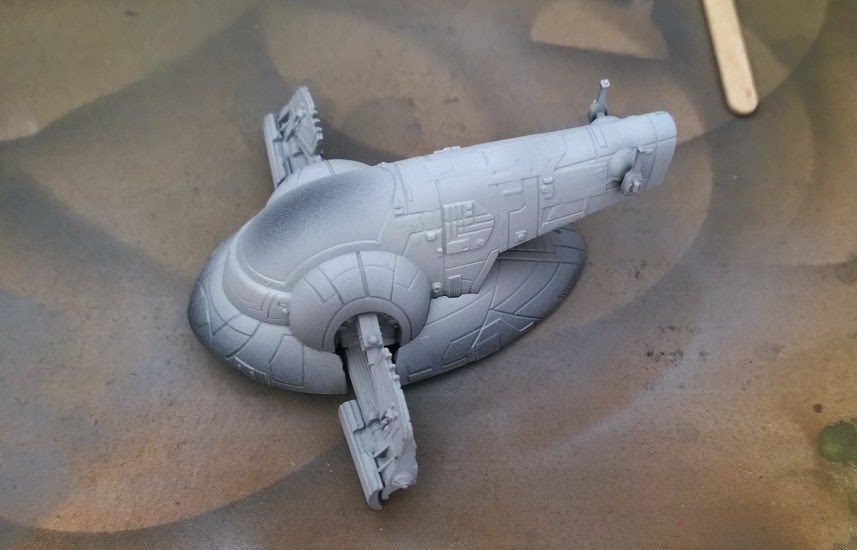
As for uses so far, in addition to
re-painting some X Wing models and
base-coating a test diorama, I have been playing around with some colour modulation prior to basecoating models, as well as a little masking off of areas in preparation for future weathering using some of my
previously tested masking medium. All of which doesn't even begin to scratch the surface of scenery and other large projects I am itching to try out in the future, as well as general craft projects which would benefit from an airbrushed stencil or two! As you can see form the Orks below, even light colours can be airbrushed straight on to a black undercoat without the multiple layers required when using brushes. The other base-coated models have solved my usual light vs dark undercoat decisions by incorporating the best of both worlds, with shadows retained as the border for light areas ready for some bright colours. I look forward to sharing some of these projects with you in the future!
Edit: As a follow on from my amateur introductory experiments, I encourage you to
check out Mathieu Fontaine's airbrush guide for all the detailed information I have glossed over!